
This project update is long overdue. A few months ago, I received these mailbox numbers to review.
The delay in posting this is due to a few things — the primary thing being that the numbers are applied with an adhesive backing and we’ve had some rainy weeks here in New Orleans. The other reason being– LIFE– it’s just been busy around here, but that’s another story for another day… or year.
The Mailbox
When we moved into our home, we knew we wanted to replace the mailbox, but it was lower on our project list. We did an initial paint/staining upgrade and let that hold us over for a good little while.
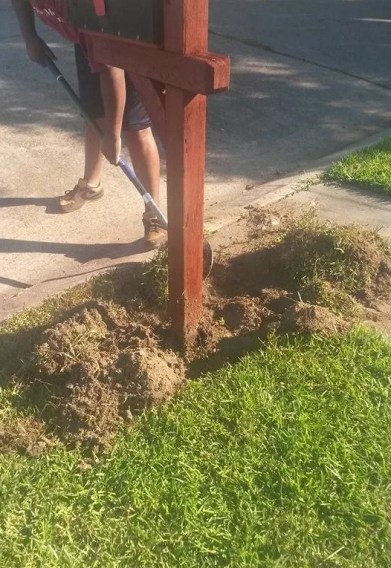
This year, it became more of a priority because an army of ants decided to destroy the wood that anchored our mailbox into place.
It fought the good fight, but one day it, “gave up the ghost” and the ants won…..
It was a sad day and our mail box stood about a foot lower into the ground.
Husboo tried to anchor it again to make it last a little while longer while we got the supplies in order for the replacement. It was a bit of a spectacle to look at, but our postal workers were kind enough to continue placing our mail and packages in the box.

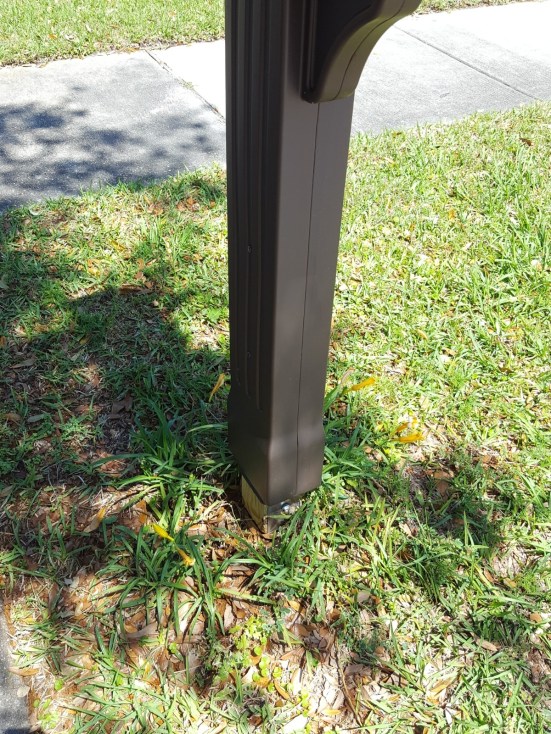
The base of the new mailbox is anchored with a metal, self-drilling post, which was attached to treated wood. So far, it’s been through some high wind storms with no issues at all.
I do like this mailbox a bit more than our previous one and as my husband suggested, it has much more room for my packages.
The Flowers
If you know me, you know the flowers were an important part of the “upgrade.”
I love cute little mailbox gardens and while I’ve planted random bulbs around our mailbox in the past, I really wanted to start a garden installation with perennials that would continue to bloom year round.
The purple flowers, shown below, are the first ones I added to the daylilies that I planted about 2 or 3 years ago. Those daylilies have come back every year since I’ve planted them and gave me one of my initial boosts of confidence with planting seasonal bulbs in Louisiana.
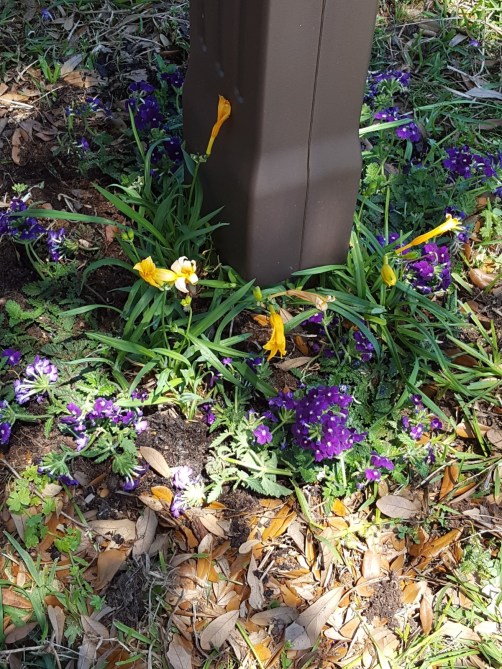

The husboo picked up these buttercups for me and I was very pleased.
The Initial Arrangement
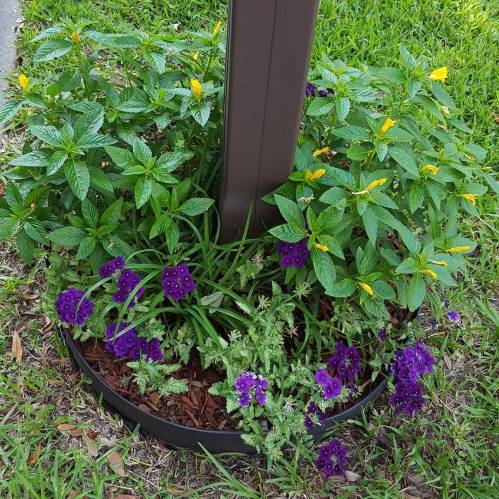
The Mailbox Garden After the Plants Became Established
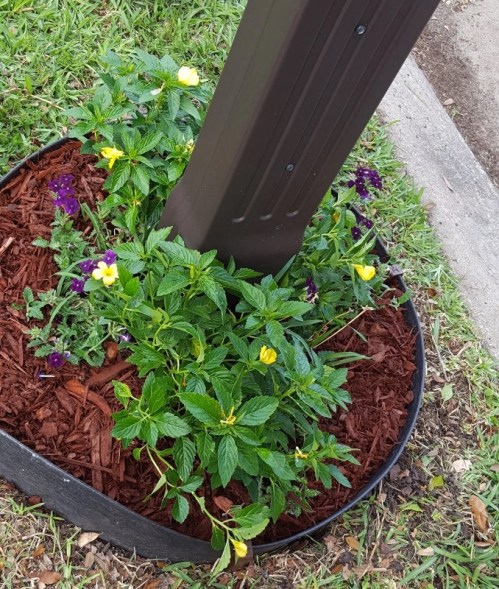
Here’s a final shot with the buttercups, homestead purple verbenas, and the greenery leftover from the daylilies. The daylilies will eventually die back and re-emerge next year. The buttercups are continuing to gain height, so I’ll probably be cutting them back soon.
The Numbers
I reviewed two typed of numbers: Golden and Brass
Each number came in a set of 2 and was available with a Golden or Brass -like finish. The individual numbers are 2-3/4 inches in height with a 1/4 inch thickness. The designers also made the adhesive backing with a 1/4 inch thickness to give the numbers a “floating appearance.”
We settled on the Golden mailbox numbers for a greater contrast and better visibility against the brown mailbox.
I received two sets of numbers at a discounted price to review and ordered the remaining numbers at full price.
We ended up with two full sets (one gold and one bronze), so now I’m thinking I may use the other set on our garage or rear gate. Whenever I get around to that project.
Fix-It With Fran’s Final Review
I really like the numbers. I think this is a step up from applying the old school sticker numbers (that were on our old mail box) at a cost that won’t break the bank. For now, I think the real test will be to see how long these hold up and how they stand up to the sun and weather in Louisiana.
Also, my partner in al projects, aka “The husboo,” is pretty much dead-set on adding screws to the numbers to hold them into place. The numbers are said to be made of solid brass, so I’m hoping nothing crazy happens during his experiment (prayers up!).
I’ll try to post an update whenever that happens and any tips we learn from the 2.0 phase.


A Fix-It With Fran Tip:

